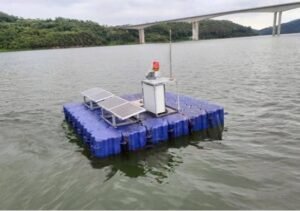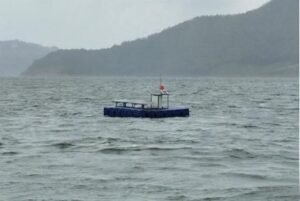

Continuous and accurate underwater temperature profiling is crucial for analyzing aquatic ecosystems, reservoir stratification, and hydrological dynamics. Recently, the Besteetech engineering team successfully deployed an autonomous, solar-powered Multi-Depth Water Temperature Chain System featuring submerged probe arrays ranging from 40 to 55 meters. Equipped with real-time wireless telemetry and a customized floating island platform, this system enables seamless, unmanned vertical thermal profiling.
Below is a detailed step-by-step breakdown of our field installation process, from platform assembly to sensor chain wiring to final lacustrine anchoring and data integration.
The temperature chain system consists of temperature probes, data transmission modules, batteries, solar panels, brackets, enclosures, floats, steel wires, etc. It allows for continuous underwater temperature monitoring and data transmission in unmanned conditions.
Use fixed ropes to fix the floating island on the water surface, and install the main box, bracket, solar panel, battery, transmission module, etc. on the floating island; A temperature chain composed of numerous temperature probes is thrown into the water below the floating island.
There are 3 temperature chains in this project, which are 55 meters, 45 meters, and 40 meters respectively. The underwater temperature measurement is carried out using a layered point setting method. According to project requirements, except for the first and last sensors, a temperature probe should be placed every 3 meters. The data is transmitted wirelessly to the server for users to log in to the platform for browsing, querying, and exporting data.
Installation Process:
Step 1: Float platform assembly
Assemble the float platform with a total area of 9 square meters (3x3m) using 0.5×0.5m floats.
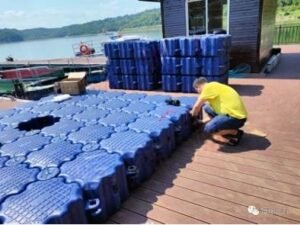
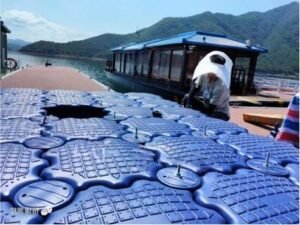
Step 2.Assemble the solar panel brackets
Complete the assembly of the solar panel brackets on land and securely attach them to the float platform. Then assemble the control box, lightning rod, signal light, and lightning protection wire with the square steel frame and fix them onto the float platform.
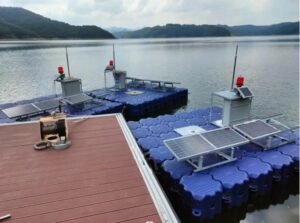
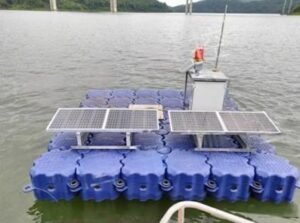
Step 3. Temperature sensor assembly
Attach the temperature sensors in sequential order to the cables and apply white silicone gel to prevent loosening. Straighten the steel wires and cables and fasten the temperature sensor casings onto the steel wires using clamps (two clamps for each casing). Let the white silicone gel dry completely, and then place all the sensors on the float platform.
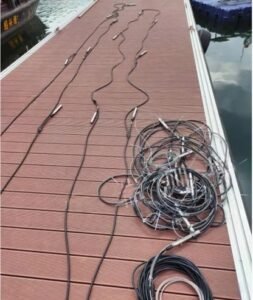
Step 4. Install anchors and anchor chains
Bring the anchors and anchor chains onto the float platform and securely connect them using U-shaped clamps. Attach two anchor chains to each platform, fixing them in the float’s installation side holes (diagonal fixation). Ensure that the bottom end of the steel wire is also firmly connected to the anchor.
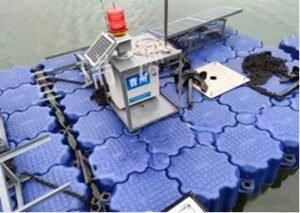
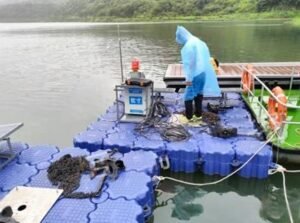
Step 5. Use a boat to tow the float platform to the designated latitude and longitude position.
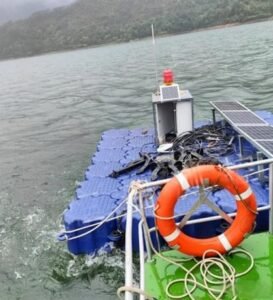
Step 6. Slide the anchors and anchor chains along the edge of the float platform into the water.
Place the temperature chain through the center square hole and into the water, ensuring that the cables are not subjected to tension. Then connect the solar panel cables and temperature chain cables to the control box. Test the data transmission to ensure it is functioning properly.
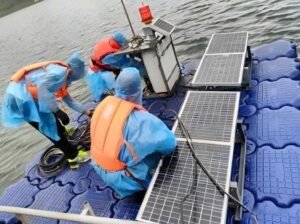
Step 7: Installation is complete.